
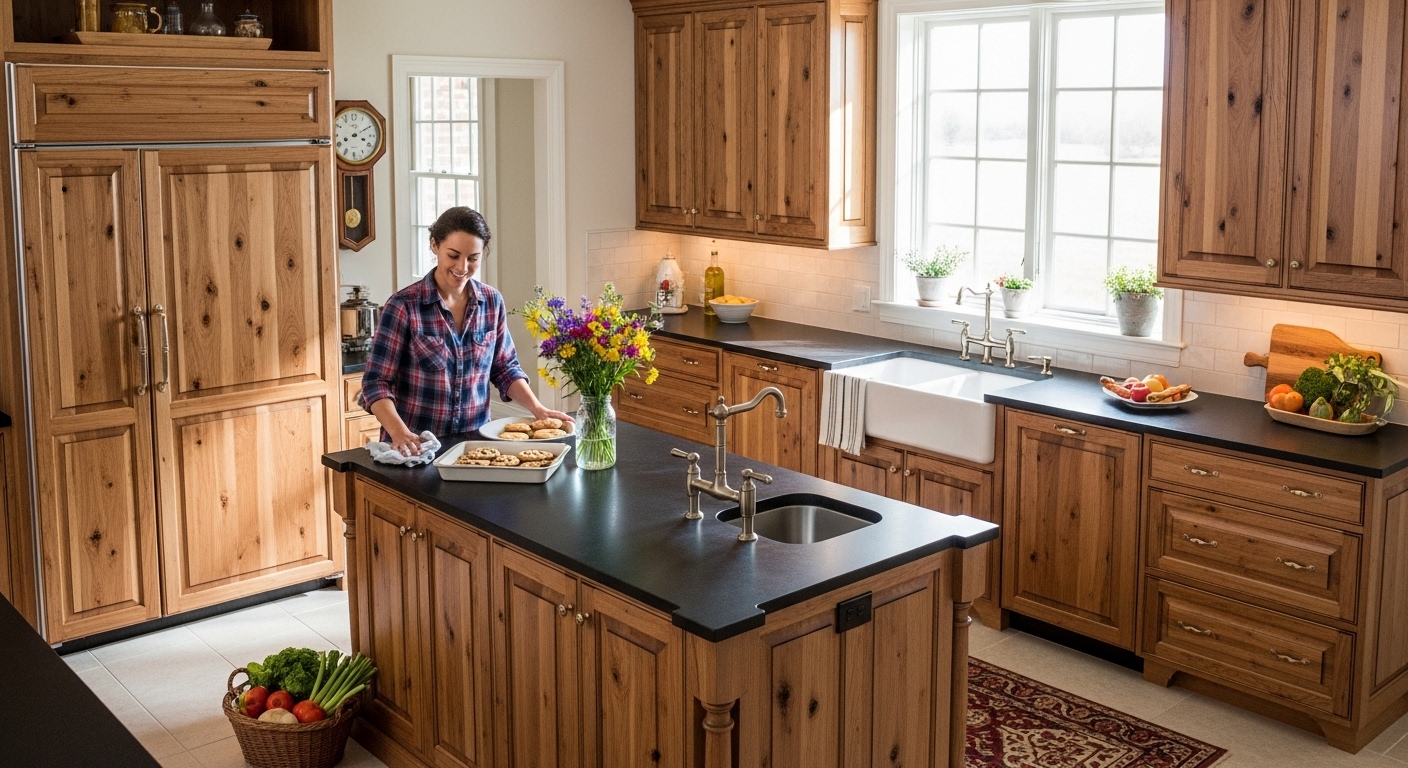
Custom Cabinetry in Liberty County TX: What Hardin, Liberty & Dayton Homeowners Actually Need to Know
There’s a moment — maybe you’ve had it already — where you open a cabinet door and it just… hangs there. Crooked. Or swings into the one next to it. And you think, how did I ever accept this?
A lot of Liberty County homeowners live with kitchens and bathrooms that were built for someone else’s life. Stock cabinets from a box store. Builder-grade stuff slapped in to meet a deadline. And over time, the frustration just compounds. Not enough storage. Wasted corner space. Drawers that don’t close right. Finishes that looked okay in the showroom but feel cheap in your actual house.
Here’s the thing: getting custom cabinetry doesn’t have to be some overwhelming, wildly expensive ordeal. And if you’re in Hardin, Liberty, or Dayton — you don’t have to drive to Houston to get it done right. Ace Kustoms works right here in Liberty County, and that matters more than people realize (we’ll get to why in a minute).
This guide walks you through the whole process — what to think about before you start, how the steps unfold, what questions to ask, and how to avoid the mistakes that most homeowners only catch in hindsight.
Before You Start: What You Actually Need to Know (And Gather)
Custom cabinetry is a process, not a product. The more prepared you are going in, the smoother — and honestly, more fun — it becomes.
What to have ready:
- A rough sense of your budget range (even a ballpark helps the conversation)
- Photos of your current space, including corner configurations and appliance positions
- Measurements of your kitchen or bathroom (floor plan if you have one)
- A list of what frustrates you most about your current setup
- A Pinterest board, Instagram saves, or magazine clippings — anything that shows what you’re drawn to visually
That last one matters. You don’t need to have the vocabulary of a cabinetmaker. You just need to be able to say “I love this” and “I hate that.” A good craftsman can translate.
[IMAGE: A Liberty County kitchen before and after custom cabinet installation, showing the same corner with stock cabinets versus custom built-ins]
Step 1: Measure the Space (And Then Measure It Again)
Honestly, this step trips people up more than anything else.
Custom cabinetry is built to fit your exact dimensions. That’s the whole point. But if the measurements going in are off by half an inch — or if you forget to account for a door swing, or a heating vent, or the depth of an appliance — you’ll feel that mistake every single day.
What to measure:
- Wall width from corner to corner, at both the countertop height and upper cabinet height (walls aren’t always perfectly plumb)
- Ceiling height (especially in older Liberty County homes where it can vary)
- Window and door placements, including which way doors swing
- Location of electrical outlets, plumbing, and HVAC vents
- Depth of existing appliances if they’re staying
Don’t eyeball it. Use a metal tape measure, not a cloth one. And yes — measure twice.
A good cabinetmaker will come out and do their own measurements too, but walking in with yours shows you’re serious and saves time in the initial conversation.
Step 2: Choose Your Style — And Make It Actually Yours
This is where the fun starts. And where people sometimes overthink it.
There are really three broad directions for cabinetry style:
Traditional/Raised Panel — This is your classic look. Decorative panel inside the door frame. Works beautifully in older homes or if you love that warm, homey feel. Common in Liberty and Hardin where a lot of homes have that established Texas character.
Shaker/Transitional — Clean lines, simple recessed panel, works with almost any aesthetic. This is probably the most popular choice right now because it threads the needle between contemporary and timeless. And it doesn’t date itself the way ultra-trendy styles can.
Modern/Flat Front — Minimal, sleek, no visible frame on the door. Looks incredible in the right space. Requires a bit more precision in the install because there’s nowhere to hide imperfect lines.
Beyond the door style, you’ll choose your wood species (or painted finish), hardware, and interior features — pull-out shelves, soft-close hinges, drawer organizers, lazy Susans for corners.
Here’s a pro tip: don’t just pick what looks good in photos. Think about how you actually use your kitchen. If you bake a lot, deep drawers near the oven are life-changing. If you have little kids, soft-close doors save your sanity and your cabinet faces. Ace Kustoms can walk you through what options make the most sense for how your family actually lives — that’s different from just picking from a catalog.
[IMAGE: Side-by-side comparison of Shaker, Raised Panel, and Flat Front cabinet door styles]
Step 3: Choose Your Materials Thoughtfully
This is where a lot of homeowners get sold on something that looks great on day one and looks rough three years later — or conversely, spend more than they needed to on something they can’t even tell apart from a mid-grade option.
Solid wood — Beautiful, durable, can be refinished. Does expand and contract with humidity (relevant in Southeast Texas, trust me). Best for painted or natural-finish cabinets where you want genuine longevity.
Plywood construction — Often better than solid wood for cabinet boxes. Doesn’t warp, holds screws better over time, handles humidity well. Good cabinetmakers use it for the structural parts of the cabinet even when the face frame and doors are solid wood.
MDF (medium-density fiberboard) — Excellent for painted finishes because it doesn’t have wood grain telegraphing through the paint. Not ideal for high-humidity areas like near the sink without proper sealing.
Particleboard — This is what a lot of budget and builder-grade cabinets use. Fine for lower-stress areas, but it doesn’t hold screws well long-term and is vulnerable to moisture. Worth knowing what you’re getting.
One thing people often overlook: the finish. A good finish — whether it’s a catalyzed lacquer, a conversion varnish, or a hand-rubbed oil — is what protects all that beautiful wood from Liberty County’s humidity and your family’s daily life. Don’t cheap out there.
Step 4: Review the Design Plan (And Ask Every Question You Have)
Before anything gets built, you should be looking at a detailed design plan. Most professional cabinetmakers will provide some version of a layout — either hand-drawn or done in cabinet design software — showing how each cabinet section fits together.
This is your moment to ask every question you have, no matter how small.
Questions worth asking:
- What’s the interior depth of these base cabinets — will my stand mixer fit underneath the upper cabinets?
- Are the drawer boxes dovetail jointed or stapled?
- What hinges are you using? Are they soft-close?
- How are the cabinets mounted to the wall — what’s the anchoring method?
- What’s the lead time from approval to installation?
- What does the installation process look like, and how long will my kitchen be out of commission?
A craftsman who gets annoyed at thorough questions is a craftsman you don’t want to hire. The good ones welcome it — because answered questions prevent problems later.
[IMAGE: A cabinetry design plan or layout drawing next to a completed kitchen installation showing the plan come to life]
Step 5: The Installation — What to Expect
Installation day (or days) is when it all becomes real.
For a full kitchen, expect the process to take anywhere from one to three days depending on complexity. A bathroom vanity might be done in half a day. Some things to know going in:
Prep your space. Clear out your existing cabinets before the crew arrives. Have a temporary setup ready for cooking basics — coffeemaker, microwave, snacks that don’t require the stove. If you have pets, plan for them to be somewhere else during install days.
The walls will be involved. Studs get located, cabinets get anchored properly. There may be some patching needed after. Know this going in.
Level matters enormously. A good installation crew checks level constantly. If your floors or walls aren’t perfectly level (and in most older homes, they aren’t), the cabinets have to be shimmed and scribed to compensate. This takes skill and time — don’t let anyone rush it.
Countertops come after. If you’re getting new countertops too, those templates usually get made after the cabinets are installed, not before.
Troubleshooting: Common Problems (And How to Avoid Them)
The cabinets don’t align with the ceiling. This happens when ceiling height wasn’t accounted for in the design. Solution: measure ceiling height in multiple spots, especially in older homes. Crown molding can also bridge a gap beautifully if needed.
Doors won’t close flush. Usually a hinge adjustment issue. European-style hinges (which most quality cabinets use now) are adjustable in three dimensions — this is usually a quick fix.
Drawers feel stiff or don’t extend fully. Often means the drawer boxes are slightly oversized or the slides aren’t fully rated for the load. Quality undermount slides make a big difference here.
Finish looks uneven. Can happen with painted cabinets if the surface wasn’t properly sanded and primed, or if humidity during finishing was too high. This is why it matters who’s doing the work — working with a local Liberty County craftsman who knows Southeast Texas conditions is genuinely an advantage.
Expert Tips: What the Pros Know That Most Homeowners Don’t
Go taller on uppers if you can. Standard upper cabinets are 30-36 inches. If your ceiling height allows it, going to 42 inches adds meaningful storage and makes the kitchen feel more substantial.
Think about the work triangle. The path between your fridge, stove, and sink should be efficient. Cabinetry can help or hurt this — plan around it.
Don’t forget the corner. Dead corners are the biggest waste of space in most kitchens. Lazy Susans, blind corner pull-outs, or diagonal corner cabinets all solve this differently. Talk through which one fits your cooking style.
Drawer base cabinets often beat door base cabinets. Opening a drawer is faster and gives you full visibility of what’s inside. A lot of homeowners convert at least some base cabinets to all-drawer and never look back.
Local matters for humidity. Southeast Texas isn’t the Pacific Northwest, but it’s not the desert either. A cabinetmaker who works in this climate knows how to finish and seal for it. That’s not something you get from a national catalog brand shipped to your door.
[IMAGE: A detail shot of a corner cabinet pull-out system fully extended, showing the storage solution]
Summary & Next Steps
Here’s what you’ve got now: a clear-headed map of what custom cabinetry actually involves, from measuring your space to the final install. Not the intimidating version — the real one.
The process breaks down like this:
- Measure carefully and document your existing space
- Decide on your style direction — traditional, Shaker, or modern
- Choose materials that make sense for your budget and your climate
- Review your design plan thoroughly before anything gets built
- Know what to expect during installation so nothing surprises you
- Ask questions early and often
If you’re in Hardin, Liberty, or Dayton — or anywhere across Liberty County — Ace Kustoms does this work locally. That means no long drives to meet with someone, no waiting on a company from another region to schedule you in, and no contractor who doesn’t understand what your home actually deals with weather-wise.
Custom cabinetry isn’t just an upgrade. It’s the version of your kitchen or bathroom that was built for the way you actually live. And once you have it, those crooked stock cabinets feel like someone else’s problem.
If you’re ready to start the conversation — even just to get a feel for what’s possible and what it costs — reach out to Ace Kustoms. No pressure, no pitch. Just a real conversation about your space.
Word count: ~2,100 words

Comments are closed