
How to Care for a Custom Bathroom Vanity
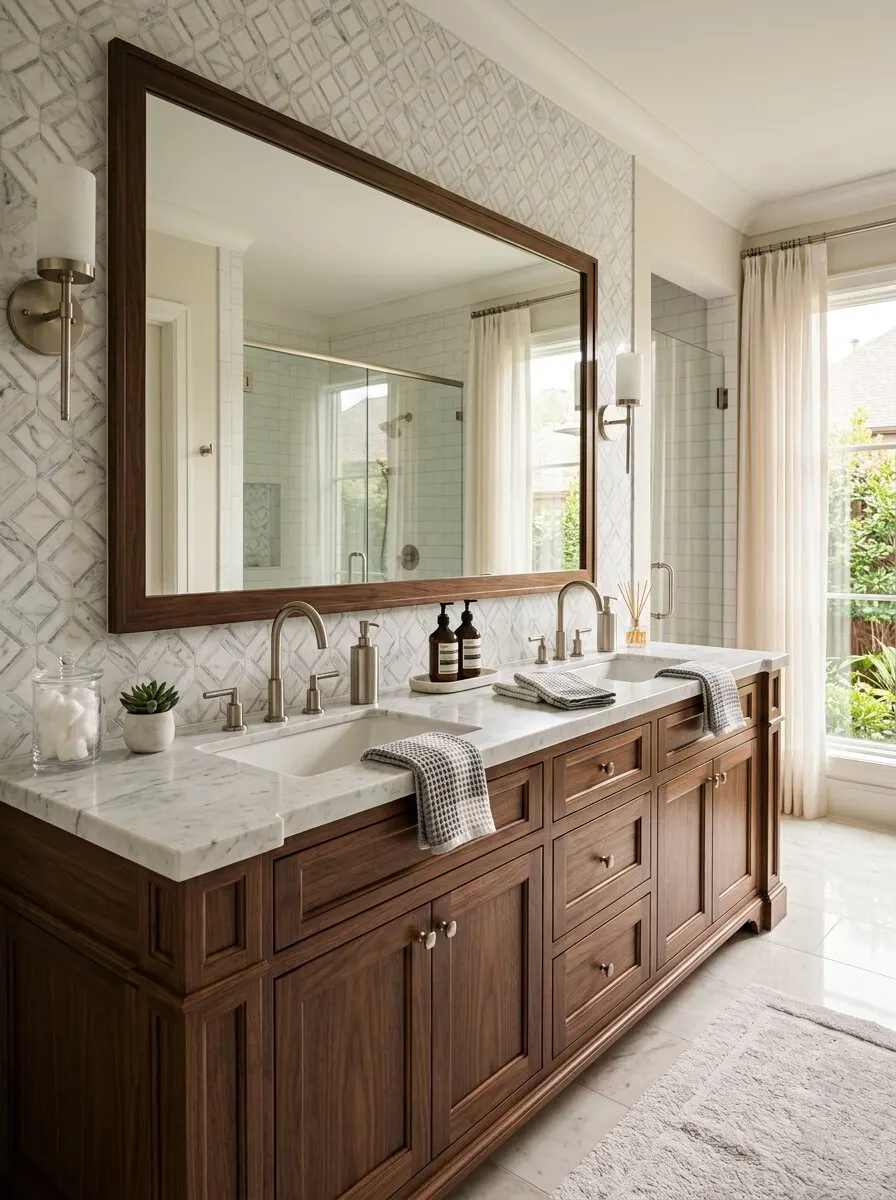
A custom vanity takes more abuse than almost any other cabinet in the house. It sits beside a running faucet, under a mirror that fogs up twice a day, and next to a shower pumping warm moisture into the air. In Houston, where outdoor humidity often stays high most of the year, that bathroom environment is tougher still. Knowing how to care for a custom bathroom vanity is what keeps a well-built piece looking right for decades instead of a few years.
This guide is for homeowners who have invested in a custom vanity, or are about to, and want simple routines that protect the finish, the wood and the plumbing connections. None of it takes much time. Most of it is about water: where it lands, how long it stays and how fast the room dries out.
We build vanities in our Houston shop from solid hardwoods and furniture-grade plywood, then install them with the same crew. The care advice below comes from seeing what makes vanities age well and what makes them fail.
Why Bathroom Vanities Need Different Care Than Kitchen Cabinets
Kitchen cabinets deal with grease and food splatter. Vanities deal with standing water, steam, toothpaste, hair products and cleaning chemicals. The finish on the doors and face frame is the first line of defense, and the joints and edges are where water finds its way in.
A few conditions make Houston vanities work harder:
- Ambient humidity. Many Houston homes have indoor humidity drift above 50 percent in summer if the AC is short-cycling, and bathrooms go far higher during showers.
- Small, closed rooms. Hall baths in older 1950s-70s ranch homes often have weak or no exhaust fans.
- Slab foundations. Plumbing runs through the slab, so a supply line leak under a vanity can go unnoticed until the cabinet floor is soaked.
- Coastal air. In Galveston and Brazoria counties, salt in the air speeds up corrosion on hinges, slides and pulls.
Good construction handles much of this. Care handles the rest.
How to Care for a Custom Bathroom Vanity Day to Day
The goal is to clean without wearing down the finish. Most damage we see on vanity doors is not from water alone but from harsh cleaners and scrubbing.
Daily habits
- Wipe splashes off the top and the door fronts after use, especially the area right below the sink edge.
- Hang wet towels on a bar or hook, not over a vanity door.
- Keep hair dryers, curling irons and straighteners off painted or stained surfaces until they cool.
- Keep a small microfiber cloth in a drawer so wiping is easy.
Weekly cleaning
- Dampen a microfiber cloth with warm water and a drop of mild dish soap.
- Wipe doors, drawer fronts and the face frame, working with the grain.
- Pay attention to the areas around knobs and pulls, where skin oils and lotion build up.
- Follow with a clean, damp cloth to remove soap.
- Dry everything with a dry cloth. Do not let it air dry.
What to avoid
| Avoid | Why |
|---|---|
| Bleach and ammonia sprays | Can break down lacquer and conversion varnish finishes over time |
| Abrasive powders and scrub pads | Scratch and dull the sheen |
| Oil soaps and furniture polish with silicone | Leave residue that attracts dirt and complicates future refinishing |
| Soaking wet rags | Push water into seams and edges |
| Steam cleaners | Force moisture into joints and behind the finish |
If you use a bathroom spray on the countertop or sink, spray the cloth instead of spraying near the cabinet. Overspray running down a door edge is a common cause of finish breakdown.
Control Moisture Before It Reaches the Wood
Ventilation is the most important thing you can do to care for a custom bathroom vanity. Wood is stable when its surroundings are stable. Repeated cycles of steam and drying stress finishes and joints more than steady conditions do.
Run the exhaust fan properly
Turn the fan on when the shower starts and leave it running 20 to 30 minutes after. A timer switch makes this automatic. If the fan is loud and weak, it is probably undersized or vented into the attic instead of outdoors, which is common in older Houston homes. Having it checked is worth it before or during a bathroom remodel.
Keep the house AC doing its job
Central air removes humidity as well as heat. If your system is oversized and short-cycles, the house can feel cool but clammy, and bathrooms stay damp. Keeping indoor humidity in a moderate range protects every cabinet in the home, not just the vanity.
Watch the countertop edges and backsplash
Water that sits along the backsplash joint or drips off the countertop edge onto the top of doors eventually finds bare wood. Check the caulk line between the top and the wall each year and replace it when it cracks or shows mildew.
Check the Plumbing and the Cabinet Floor
The inside of a vanity sink base is where hidden problems start. Supply lines, shutoff valves, P-traps and drain connections all sit inside the cabinet, and a slow drip can soak the floor panel for weeks before anyone opens the doors.
Every month or two, do a quick inspection:
- Look for water stains, drips or white mineral crust on supply lines and valves.
- Run the faucet and watch the drain connections for a minute.
- Press on the cabinet floor to check for soft spots.
- Smell for mustiness, which often shows up before visible damage.
- Check that the pop-up drain linkage is not leaking where it passes through the drain body.
If you find a leak, shut off the valve, dry the cabinet completely with the doors open and a fan blowing in, and get the plumbing fixed before closing it back up. A plywood floor panel with a good finish will tolerate a short exposure; standing water for weeks is another story.
A simple, low-cost step is a waterproof liner or tray on the sink base floor. It catches drips, makes leaks obvious and protects the cabinet bottom.
Hardware and Finish Upkeep
Hinges, slides and pulls
Vanity hardware gets used constantly and lives in a damp room. A little attention keeps it working smoothly.
- Hinges: If a door starts to sag or rub, the adjustment screws on concealed European hinges can realign it in a minute or two. Do not overtighten into the wood.
- Drawer slides: Wipe out drawers occasionally so hair, powder and spilled product do not build up in the slide tracks. Soft-close slides are durable but need clean tracks to work quietly.
- Knobs and pulls: Tighten loose screws from inside the door or drawer. Loose hardware wobbles and wears a larger hole over time.
- Coastal homes: In salt air, wipe metal hardware with a dry cloth periodically and consider stainless or solid brass options when choosing finishes. Plated finishes can pit faster near the water.
If hardware starts failing early, check whether the cabinet has shifted. A slab that has moved slightly can rack a vanity out of square, which shows up as doors that will not line up.
Finish care over the long term
A quality factory or shop-applied finish should last many years with basic care, but high-use spots will eventually show wear. Typical trouble areas include the bottom edge of the sink base doors, the top edge of the drawer fronts under the faucet, and the toe kick, which gets mopped and kicked.
Painted vanities
Painted finishes can chip at edges from rings, hair tools and cleaning. Small chips can be touched up with matching paint; ask your cabinetmaker for a small amount when the job is done. Address chips promptly so water does not get under the paint.
Stained and clear-coated wood
Stained finishes hide wear better. If you notice a white haze where water has sat, that is usually moisture in the topcoat. It sometimes clears on its own as the room dries out. If not, a refinisher can often correct it without stripping the whole piece.
When to refresh
Most well-built vanities do not need full refinishing for a long time. If yours is showing worn edges or dull patches after years of use, a professional touch-up or recoat on the doors can make the whole piece look new without replacing anything.
How Construction Affects Long-Term Care
Care routines help any vanity, but materials decide how forgiving a vanity is when something goes wrong. A particleboard box that gets wet swells and crumbles, and no amount of care will bring it back. Plywood and solid wood can usually be dried, repaired and refinished.
When we build custom bathroom vanities, we choose materials and finishes for the room's conditions. That might mean a more durable topcoat on a kids' bathroom vanity, a finished sink base interior, or adjusting toe kick height in a bathroom that gets mopped often. Our article on the best materials for custom bathroom vanities goes deeper into wood species, plywood grades and finishes.
For homeowners near the coast in Galveston County, we also talk through hardware choices and ventilation during the design stage, because salt air and humidity together are hard on metal and finishes. And for a broader routine covering every cabinet in the house, our custom cabinet maintenance guide is a useful companion to this one.
A Simple Vanity Care Checklist
Print this or keep it on your phone:
- Wipe splashes daily and dry the top.
- Clean weekly with mild soap and water, then dry.
- Run the exhaust fan during and after every shower.
- Check under the sink every month or two.
- Inspect caulk lines once a year.
- Tighten hardware and adjust hinges as needed.
- Touch up chips promptly on painted finishes.
Need a Vanity Built for Houston Bathrooms?
A custom vanity built from solid hardwood and plywood, finished well and cared for with a few simple habits, can handle Houston humidity for a very long time. If your current vanity is already swelling, peeling or leaking, it may be time to replace it with something built to last.
We design, build and install custom vanities throughout Greater Houston. Request a free in-home estimate or call (281) 660-3903 during business hours, Monday through Friday, 8am to 5pm, and we will measure the space, review your options and give you a written estimate.
Frequently asked questions
What is the best cleaner for a wood bathroom vanity?
How do I keep my vanity from getting damaged by bathroom humidity?
How often should I check under my bathroom sink?
Can a water-damaged vanity be repaired?
Planning a project like this?
Get a free in-home estimate from the team that builds and installs the work.