The Custom Cabinet Design and Installation Process
Hiring a cabinetmaker can feel like a leap if you have never done it. You are paying for something that does not exist yet, built to drawings you may not fully understand, and installed in a room you use every day. Knowing the custom cabinet design and installation process ahead of time takes most of the uncertainty out of it. You know what happens at each step, what decisions you will be asked to make, and what to expect on installation day.
This post is for Houston-area homeowners planning custom kitchen cabinets, vanities or built-ins who want to understand how a project moves from first conversation to final walkthrough. We will walk through each stage as we run it at Ace Kustoms, including the questions worth asking and the places where projects most often get delayed.
Every shop works a little differently, but the core stages are similar. Use this as a guide when comparing cabinetmakers too.
Why the Custom Cabinet Design and Installation Process Matters
Two shops can use similar materials and still deliver very different results. The difference usually comes down to process: how carefully the room is measured, how clearly decisions are documented, and whether the people installing the cabinets understand how they were designed.
At Ace Kustoms, one in-house team handles design, shop fabrication and installation. We do not hand off to subcontracted install crews. That continuity reduces the gaps where mistakes happen, like a measurement that gets misread between the designer and the installer. You can read more about our background on our about page.
Step 1: Consultation and In-Home Measure
Everything starts in your home. A good consultation covers both the room and the way you use it.
What we look at
- How you cook, store food and clean up
- Who uses the space, including kids, guests or someone with limited reach
- What bothers you about the current layout
- Appliances you are keeping or buying, with model specs
- Windows, doors, outlets, vents, plumbing and gas locations
- Ceiling height and any soffits or beams
How we measure
We measure every wall at several heights, check corners for square, check floors for level, and note any bows in the walls. In Houston, this matters. Older ranch homes from the 1950s through the 1970s often have settled slab foundations and walls that are not straight. Even new construction can have variances. Those details are what let custom cabinets fit tightly instead of relying on wide filler strips.
What to have ready
A little preparation makes the first visit more productive. Before the measure, it helps to gather:
- Photos of kitchens or built-ins you like, and notes on what you like about each
- A list of the items you need to store, from sheet pans and small appliances to cleaning supplies
- Model numbers or spec sheets for any appliances you plan to keep or buy, since widths and door swings affect cabinet sizes
- A comfortable budget range, so the design can be shaped to fit it from the start
- Any plans for flooring, lighting or plumbing changes that will happen at the same time
Clear the countertops and move furniture away from the walls if you can. Access to corners and the space above the existing cabinets makes the measurements more accurate.
For more on why measurement is so important, see how to ensure custom kitchen cabinets fit correctly.
Step 2: Design and Material Selection
With measurements in hand, the design takes shape. This is where most of your decisions happen.
Layout and drawings
We prepare a layout showing cabinet sizes, appliance locations, drawer and door arrangements, and details like crown molding, light rail and panels. You review it, mark up changes and approve a final version. Pay attention to:
- Aisle widths, ideally at least 42 inches in a one-cook kitchen
- Landing space beside the refrigerator, range and sink
- Drawer versus door placement in base cabinets
- Upper cabinet height and whether they go to the ceiling
- Where trash and recycling will go
Materials and finishes from real samples
You choose wood species, door style, finish color and hardware from real samples, not just a screen. Seeing a painted door or a stained oak panel in your own light, next to your floors, prevents most color regrets. We build with solid hardwoods like maple, oak and walnut, along with furniture-grade plywood boxes. No particleboard.
Storage details worth planning now
Interior details are much easier to build in than to add later. Common requests include pull-out trash and recycling beside the sink, a tray divider above the oven, deep drawers sized for stockpots, roll-out shelves in a pantry cabinet, a charging drawer, and lighting under and inside cabinets. Bring up anything you want during design so it is drawn, priced and built into the boxes from the beginning.
Approval and scheduling
Once the design and selections are final, you get a written estimate and schedule. Changes after this point are still possible, but they can affect cost and timing, so it pays to take your time here.
Step 3: Shop Fabrication
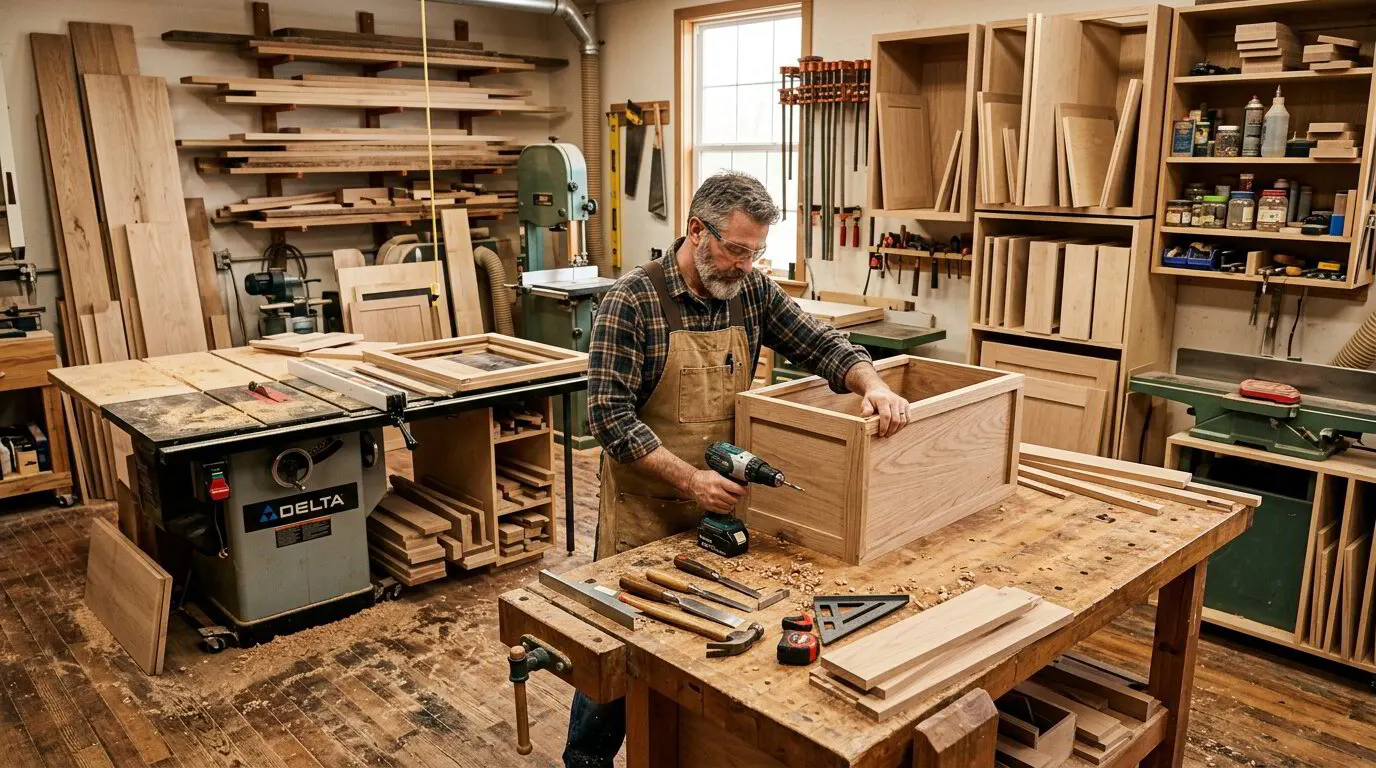
Your cabinets are built in our Houston shop. During this time your current kitchen stays usable.
The shop stage typically includes:
- Cutting and machining box parts, face frames, doors and drawer fronts to the approved dimensions.
- Assembly of boxes and face frames with strong joinery.
- Drawer construction with quality joinery and full-extension slides.
- Sanding and finishing in a controlled environment, applying a multi-coat finish to all sides of doors and drawer fronts.
- Quality check of dimensions, finish and hardware fit before anything leaves the shop.
Building in a local shop has practical advantages in Houston's climate. Wood is acclimated in conditions similar to your home, and finishes cure properly before installation. If a question comes up about a dimension, the builder can call the person who measured.
Step 4: Site Preparation and Installation
Preparing the site
Before installation, the room needs to be ready.
Demolition. Old cabinets and countertops are removed. This is scheduled close to the installation date so you are not without a kitchen longer than necessary.
Rough work. Any plumbing, gas or electrical changes happen now, performed by licensed trades. Walls are patched, and flooring is installed if it is going under the cabinets.
Inspection of the bare room. Once the old cabinets are out, we check the walls and floor again. It is common to find patched drywall, uneven slab areas or old water damage that was hidden. Addressing those before setting cabinets prevents problems later.
Protecting the house. Floors, doorways and adjoining rooms should be protected from dust and traffic.
Setting the cabinets
Installation is where all the planning shows. Because the same team that measured and built the cabinets installs them, they know exactly how each piece was meant to fit.
What happens on installation days
- Base cabinets are set first, leveled with shims and fastened together and into wall studs
- Upper cabinets are hung to a level line, regardless of how the ceiling or floor varies
- Panels, fillers and trim are scribed to follow walls that are not straight
- Crown molding, light rail and toe kicks are installed
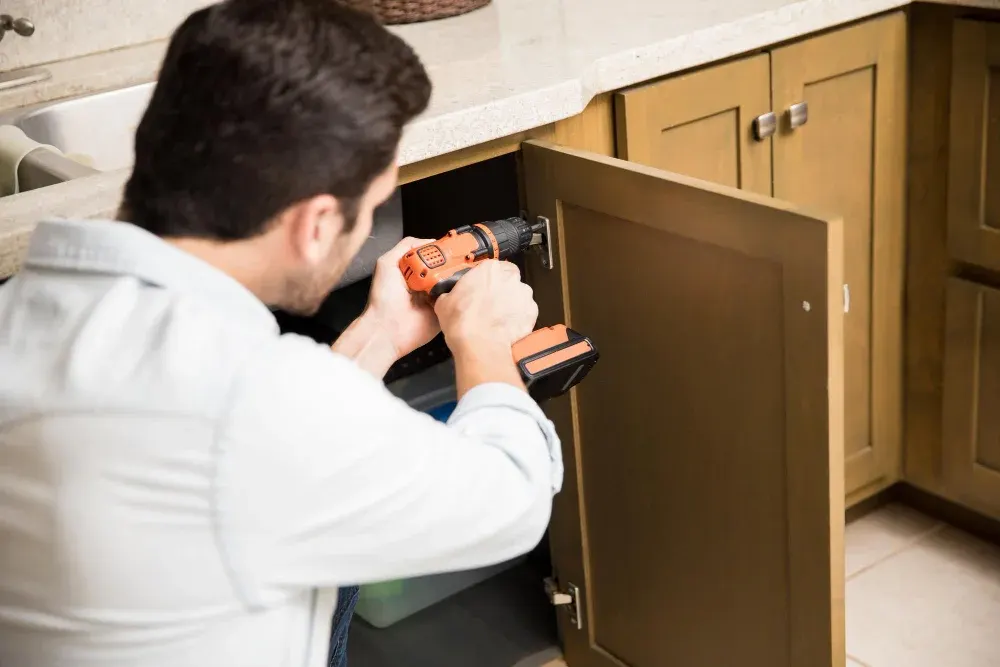
- Doors and drawers are hung and adjusted for even gaps
A typical kitchen installation takes several days, depending on size and complexity. Built-ins and vanities are often quicker.
Countertop templating
After cabinets are set and secure, countertops are templated from the installed cabinets. This is critical. Stone does not flex, and a template taken from drawings instead of real cabinets is one of the most common causes of poor countertop fit. Once countertops are installed, plumbing fixtures are reconnected and the backsplash goes in.
Step 5: Final Walkthrough and Aftercare
The last step is a walkthrough with you. We open every door and drawer, check alignment, confirm hardware is tight, and address anything that needs adjustment. You get guidance on cleaning and caring for your new finish.
A few things worth knowing about the months after installation:
- Seasonal movement. Houston's humidity changes through the year, and wood responds. Doors may need a small hinge adjustment after the first season.
- Painted joints. Five-piece painted doors can show a hairline at the joints as wood moves. This is normal.
- Warranty. Our craftsmanship warranty covers joinery and finish. Keep your paperwork and call us if something needs attention.
Typical Timeline at a Glance
| Stage | Typical duration |
|---|---|
| Consultation and in-home measure | 1 visit |
| Design and selections | 2-4 weeks |
| Shop fabrication | Several weeks |
| Demolition and rough work | Days to 2 weeks |
| Cabinet installation | Several days to 2 weeks |
| Countertops and backsplash | 1-3 weeks after templating |
| Final walkthrough | 1 visit |
These ranges vary by project size, material lead times and conditions found on site. For a local example of how timing plays out, see our cabinet installation timeline for Magnolia homes. If you are still choosing who to hire, choosing a local custom cabinetmaker: 9 checks covers the questions to ask.
Start Your Project With a Free In-Home Estimate
The process is the same whether you are planning custom kitchen cabinets, a vanity or custom cabinetry and built-ins elsewhere in the house. It starts with a visit to your home. Ace Kustoms has been designing, building and installing cabinetry across Harris County and the surrounding counties for more than 15 years, licensed and insured, with one team from first measure to final walkthrough.
To begin, contact us to schedule a free in-home estimate, or call (281) 660-3903 Monday through Friday, 8am to 5pm.
Frequently asked questions
How long does the custom cabinet process take from start to finish?
Can I use my kitchen while the cabinets are being built?
What should I prepare before the in-home measure?
When are countertops measured?
Planning a project like this?
Get a free in-home estimate from the team that builds and installs the work.